Overview
To authenticate with Auvik, you need:- Username – Your Auvik account username (usually your email address).
- API Key – Your Auvik API key (separate from your password).
- Region – Your Auvik region (e.g.,
us1,us2,eu1). This determines your API base URL likehttps://auvikapi.<region>.my.auvik.com.
Prerequisites:
- Optional: create a new, separate Auvik account within your organization to hold your API Key so that this key is not tied to any one individual. Auvik documentation refers to this as setting up a “service account.”
- Access to your Auvik account with API permissions.
Step 1: Generate an API Key
- Log in to your Auvik dashboard.
- Scroll to the bottom of the left-hand nav. Look for your account’s name and click to view and edit your profile.

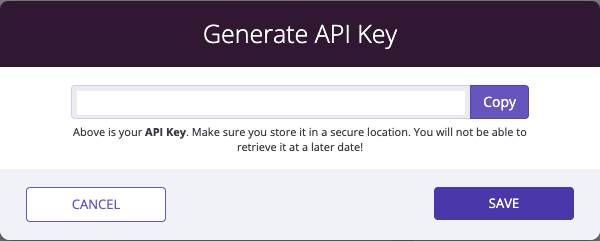
- Under the API Key section, click Generate.

- Copy and securely store your API Key – this is separate from your password and will be used for API authentication.
- Your Username is the email address associated with your Auvik account.
Step 2: Determine your region
Your region is visible in your browser’s address bar when you’re logged into the Auvik web UI:- If your URL is
https://yourcompany.us1.my.auvik.com/...→ Your region isus1 - If your URL is
https://yourcompany.us2.my.auvik.com/...→ Your region isus2 - If your URL is
https://yourcompany.eu1.my.auvik.com/...→ Your region iseu1
us1→https://auvikapi.us1.my.auvik.comus2→https://auvikapi.us2.my.auvik.comeu1→https://auvikapi.eu1.my.auvik.com
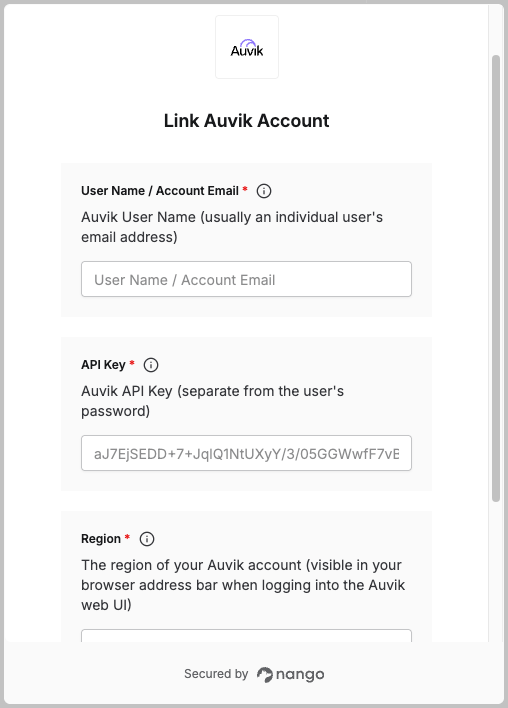
Step 3: Enter your details in the Connect UI
Once you have your Username, API Key, and Region:- Open the form where you connect to Auvik.
- Enter your Username (email address).
- Enter your API Key.
- Enter your Region (e.g.,
us2). - Click Connect.