Overview
To authenticate with Drata, you need:- API Key - A key that grants secure access to the Drata API, enabling authorized applications to interact with Drata resources and services.
Prerequisites:
- You must have a Drata account
- You must have admin access to create API keys
Instructions:
Step 1: Creating Your API Key
- Go to the Settings page on Drata. To access settings, select your account on the bottom left side navigation and then select the Settings option.
- Select API Keys on the Settings page.
- Select the Create API Key button.
- Fill in all the API Key details, for:
- Allowed IP Addresses: You can restrict key usage to the specified addresses. Please reach out to Nango support to get the current IPs to whitelist here.
- Enter the scopes for your API:
- Access: The options are Custom, All read, or All read and write.
- Custom: Select the specific scopes you want enabled for that API key.
- All read: Enable all the current and future read permissions/scopes for the API key.
- All read and write: Enable all the current and future permissions/scopes for the API key.
- Once you save, you will be prompted to acknowledge that you have saved your API key info in a secure location.
- Copy your API Key immediately - you will not be able to access the full API key again after selecting Done.

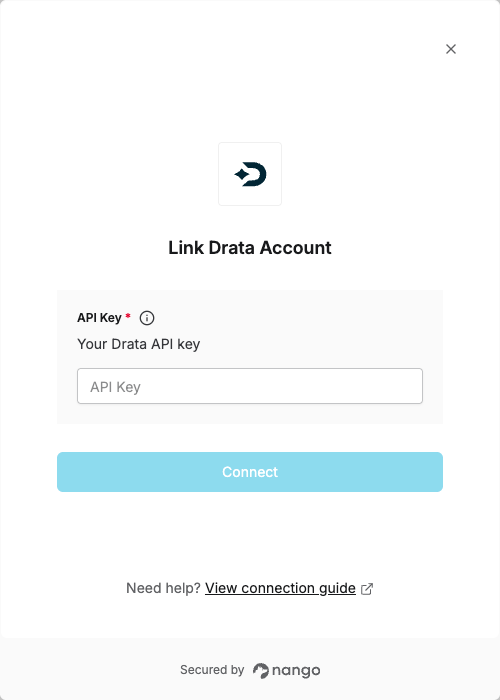
Step 2: Enter credentials in the Connect UI
Once you have your API Key:- Open the form where you need to authenticate with Drata.
- Enter your API Key in the designated field.
- Submit the form, and you should be successfully authenticated.